I’ve had several people comment that they don’t understand how to prepare and/or play Magic Square Puzzles. So this post is going to explain how to use Magic Square Puzzles. {You’ll also have access to some great Magic Square freebies for grades K-6, so stick around!} Want to skip right to the video directions? Click here for the video version, or click here for the video with audio!

What are the Benefits of Magic Square Puzzles?
Before we get any further, it’s important to know why Magic Square Puzzles are so beneficial, right? Here are all the reasons I love them!
- Gives students a lesson in perseverance!
- Keep students engaged through a fun, game format.
- They’re hands on.
- Employ critical thinking
- Use them with ALL students – GATE, special needs, RTI, Title I, ELL, and general education classrooms.
- Use them in a variety of ways – small groups, individual work, partner projects, and more!
- Include differentiated options so students at different levels can work on the same material.
- These can be used for a variety of reasons:
- Centers
- Review
- Early or fast finishers
- Enrichment
- Plus they’re low prep so teachers can have them ready in no time – just print, cut, and go!
- First choose which puzzle/s you want. Many of my products have 2-4 versions available to better help you differentiate.
- Then print out how many copies you need. Many of the puzzles have color and black/white versions. {Sometimes I print just one of each puzzle, but other times I print one for each student to have their own. It depends if I am doing centers or using them as early and fast finishers work.}
- I typically print my Magic Squares on cardstock. To store them, I take an entire set and put each individual puzzle in a snack size baggie. I then take that set of baggies and one original sheet {as an answer key} and put them in a manila folder. This way I can easily have them all stored and readily accessible to correct finished puzzles.
- Get your puzzles all cut up into 4, 9, or 16 pieces – depending whether you are using a 2×2, 3×3, or 4×4 puzzle. If you want, keep the outside ring of the puzzle as “guide”. This is one more way to make the puzzles easier for your students that need a little more direction. My 6th graders have done enough Magic Squares that they don’t need the “guide”. Even my 6-year-old niece completing a 3×3 {nine total squares} square was able to complete them without the “guide”. It’s more personal preference and student ability/comfort than anything.
- Cutting can take a little while, depending on how many puzzles you are using. I’ve had students help me cut them and then put them together. I have not noticed them “cheating” by memorizing the order, but use your best judgment.
- To play, give the students the cut up squares (16 for a 4×4 square, nine for a 3×3 square, or 4 for 2×2). Giving them the outside “guide” is also an option. Students will start to match the square together. Remind them that the pictures or words must be facing the correct direction! Typically I create my Magic Square Puzzles with pictures, but if you are differentiating with a puzzle without pictures – just tell your students to spread out their puzzle pieces.
I’m still not sure about this. Can you explain it again?
- Lay all of the pieces (4, 9, or 16) out so you can see all of them.
- Find two pieces that match.
- Continue adding puzzle pieces, ensuring that they match each piece they are beside.
- Repeat until the puzzle is done! =)
To easily check a student’s completed work, keep an original copy of the magic square sheet they are working on. This way you can immediately check to see if the letters or graphics are in the correct order or not.
Here’s a video I created while completing a Magic Square Puzzle. This was my first attempt at a video for my blog, so it’s not the greatest. 🙂
If you’re looking for a quicker visual, watch this video.
Remediation Ideas for Magic Square Puzzles
Some students may struggle with these, especially the first time they use them. However, here are some tips and tricks to help them be more successful. Watch the video or read on for all the remediation tips.
- Use the puzzles without anything around the outside edges (if those were provided in the puzzle you purchased). I provide a variety of differentiation options when you download Magic Square Puzzles, so this will help your students by having less to work with. You can also give them the hint that the outside edges are “plain”. It’s sort of like putting together a regular puzzle. We know the outside edges are smooth and flat. In this case, the outside edges are plain with nothing on them. (If you choose that puzzle.)
- Go through the puzzles as a class first. Show them how to complete the puzzle. Talk through what you are doing.
- Cut the puzzle into less pieces. If the puzzle is generally nine pieces, you can cut it so that there are only 4-6 pieces instead (leaving some pieces as two that are already connected). If the puzzle is generally a 4×4 with 16 pieces, make it so that it is only 8-12 pieces (leaving some as 2-3 connected pieces).
- Allow them to work with a partner, particularly the first time or two.
- Keep the outside border of the Magic Square Puzzle as a guide. This way they can see the outline of what the puzzle should look like. (I’ve noticed some students really struggle with the idea of it being a square.) Or use the puzzle mats that are included with many of the puzzles as a guide for students who need extra support.
- Mark the upper left square with a green dot. This is where a child would typically start reading, so they them this is their starting point. (Some puzzles have a black star in the upper left-hand corner. Use that if you want to give extra support.)
- If the puzzle is typically nine squares, give them just four to start with. If the puzzle is typically 16 squares, give the child just 9 to start with. Once they feel comfortable with that many, increase the amount.
- Draw a border around the outside of the Magic Square Puzzle with a noticeable color. Tell the students this is the outline.
- Mark the four corner squares so students know which ones they are.
- Highlight matching sides so students can find the answers more quickly. (Highlighting about half the problems and leaving the other half plain would work!)
- Cut the puzzle into less pieces. If the puzzle is typically nine pieces, maybe you cut it into three strips. Or if the puzzle is generally a 4×4 square, maybe they get four strips. Just because a puzzle is 9 or 16 pieces doesn’t mean every student needs to get every piece separated.
Extension Ideas for Magic Square Puzzles
Some students are going to complete the Magic Square Puzzle more quickly. These students may need additional activities to enrich their learning experience. Here are some ideas. Choose to watch the video or read more just below it.
- Make sure to give these students Magic Square Puzzles with numbers or words around the outside edges. These puzzles are more challenging, so they will be great for your high fliers or GATE students.
- Ask your students to glue their Magic Square Puzzle to paper. Then have them write problems (for math puzzles) to match the outside edges of the Magic Square Puzzle.
Even More Magic Square Puzzle Fun
Need yet another idea? How about using the Magic Square Puzzles as a file folder game? Simply put a little velcro inside of a file folder, and you have an immediate game you can use over and over with any set of Magic Square Puzzles! (This would be a great project for a parent volunteer in your classroom!)
There are two minor downsides to Magic Squares.
- It can take awhile to cut out the Magic Square Puzzles if you are doing a lot of them. However, I typically recruit parent volunteers or students to help me out if I have a lot to cut. {The plus is that they last a LONG time, especially if you use cardstock and/or laminate them! So you can play them again and again!}
- The first time students complete a Magic Square they might get confused and need a fair amount of assistance. I often draw an example the first time. I’ve also modeled one using an overhead so the entire class can see. Another option is to partner students up – two heads are better than one! However, just like anything that is done in the classroom, once students complete one Magic Square – they will catch on and be able to complete them much quicker the next time! Use theremediation tips above to give you more ideas.
Don’t want students to see the full puzzle (which doubles as the answer key) before completing the puzzle? No worries!
- Ask parent volunteers to cut out and prep the puzzles.
- Have students from another class (or high school volunteers) prep for you.
- Have students cut the puzzles out a week early. (They’re forgetful!)
- Give students a puzzle to cut out, but then have them complete a different puzzle by switching with a friend. Since many puzzles have multiple options or differentiated versions, this is an option for many of the puzzles.
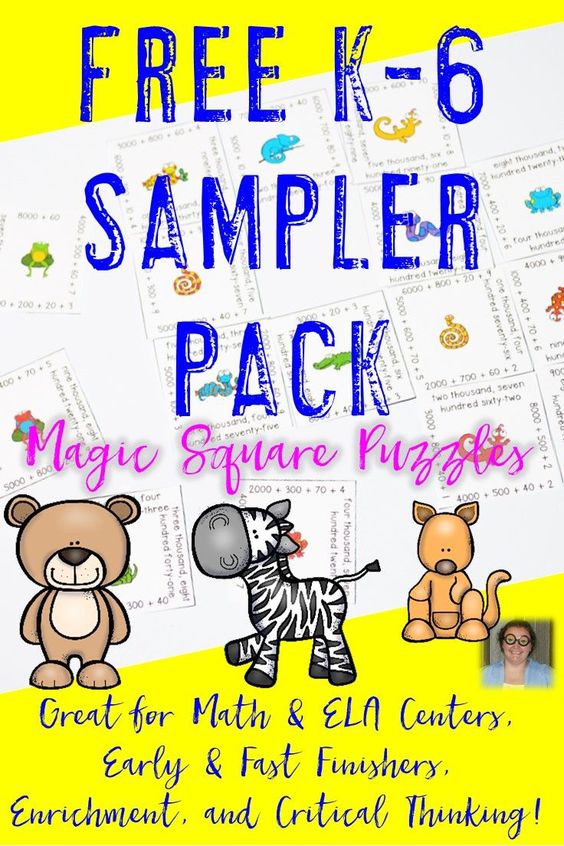
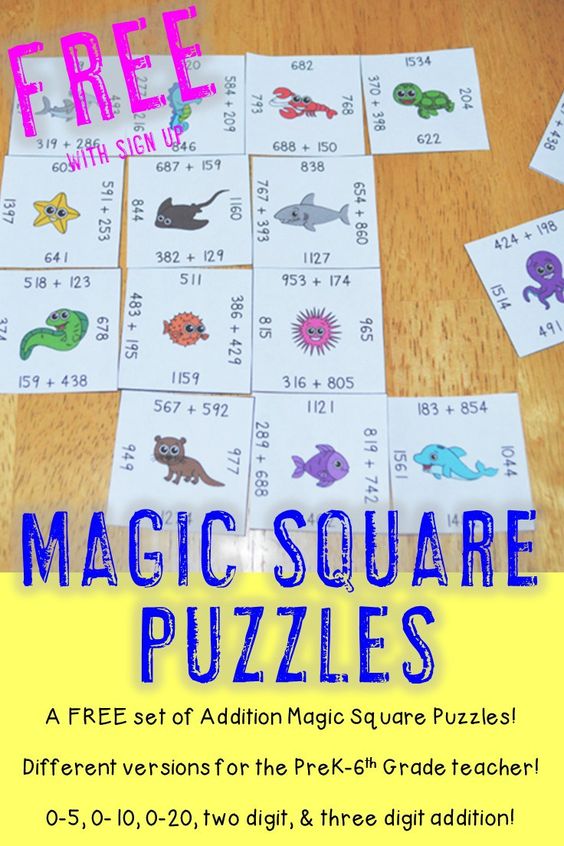
Alright, it is FINALLY time for some freebies! I currently have over 10 free Magic Square puzzles in my TpT store. Click on the pictures below to check them out! Or click here to see all of the Magic Squares in my store! Interested in some money saving bundles? Click here.


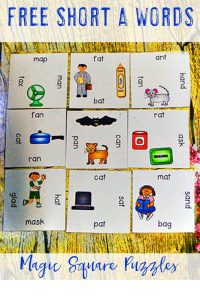

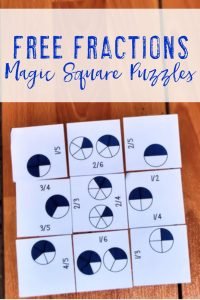


Thanks for sharing these wonderful resources!!! I can't wait to use them with my students.
Sincerely,
Lianna
I just saw your guest post on Sunny Days in 2nd Grade. I'm glad to have found your magic squares. I'll try them with my kiddos next year.
Chrissy
First Grade Found Me
Just went to tpt website and found your music set. I’m definitEly going to buy this! I could give you tons of ideas About other variations for your store. Curwen hand signs, specific notes on the staff with letter names, or with solfa names, even large ones with bits of melody on a staff and then corresponding note names or solfa. All of these are actually tested yearly in My district for 3rd and 4th grade. PictuRes of imstruments and their family, or their name would be cool, too. I think I could add to your list of terms with pictures for definitions, as well. All of these would be so useful for the music classrooM!
Tina
THese are woNderful! Thank you!
I have a PROBABLY DUMB QUESTION, hOW TO YOU CREATE THE SQUARES? iS THERE A PROGRAM YOU USE? aLSO WITH THE DISTANCE LEARNING NOW, CAN THESE BE PU INTO ANOTHER PROGRAM TO TO VIRTUALLY? i’M THINKING OF SUMMER SCHOOL.
I create the squares in the PowerPoint program. I actually have an editable copy that will be in my store soon. You can follow me here – https://www.teacherspayteachers.com/Sellers-Im-Following/Add/Hojo – to get notified by email when I post it.
To make them digital I have to digitally “cut” each piece. It’s time-consuming, but possible. You can see all the puzzles I currently have converted to digital here – https://www.teacherspayteachers.com/Store/Hojo/Category/-Digital-Distance-Learning-433291 I have about 60 more puzzles I intend to make digital as time allows.
Thank you for your interest! ~Heather aka HoJo~